Viewing Emission Spectra with a VideoCamera
INTRODUCTION:
Students are often asked to look through grating devices to view
emission spectra. These devices may be effective if the student
uses them correctly, but the teacher cannot confirm what each
student has seen. With the described technique, a common
video-camera can be converted to a spectroscope in about 15
seconds. Spectra can then be viewed on a TV screen and the
properties discussed with the entire class.
CHEMICAL CONCEPTS:
-emission spectra and atomic structure
-diffraction
MATERIALS:
-gas discharge spectrum tubes
-power supply for the tubes
-diffraction grating mounted in a 35 mm slide frame (or other
holder to keep the grating flat)
- personal video camera with a zoom lens and auto-focus (digital
works best)
-tripod
PROCEDURE:
Put a 35 mm slide holder containing a holographic diffraction
grating (of about 7500 lines/cm) on the front of the lens of a
video-camera and fasten it with masking tape.
Point the camera at a gas discharge lamp. The lamp is narrow enough that a slit is not needed to focus the spectrum, but a cardboard slit placed in front of the lamp will reduce reflections from the lamp casing.
When the camera has acquired the image in focus, rotate the camera on the tripod away from the lamp to focus on the first order diffraction pattern. The zoom lens will allow you to zoom in on any area or line of the spectrum you wish to discuss.
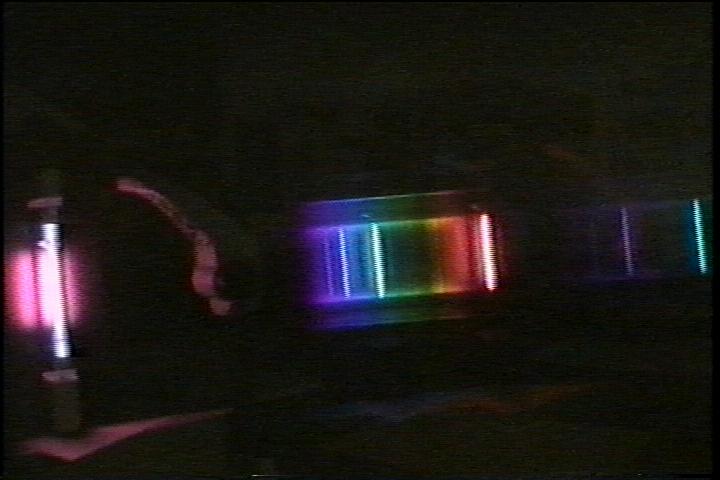
H2 spectrum
first order spectrum zoomed
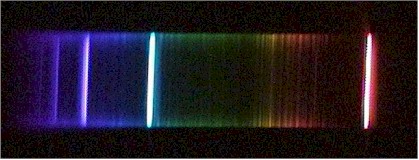
Since line separation is greater in the second order diffraction pattern, rotating the camera further will bring this pattern into view.
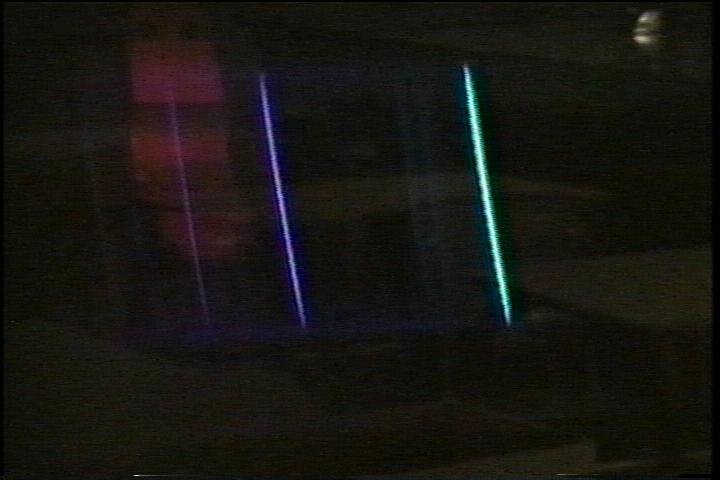
second order visible
If the camera has "night-vision", you can focus on the area just beyond the red area of the spectrum, engage the night-vision and see if previously invisible lines appear on the screen.
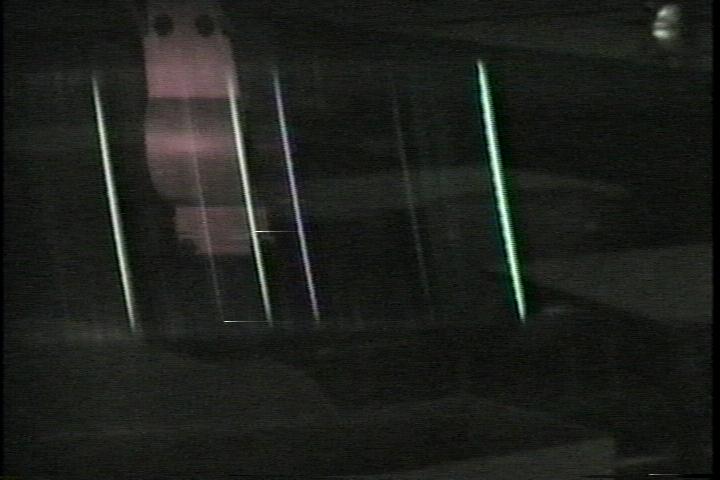
second order visible . With IR "on" we get new lines
SAFETY PRECAUTIONS:
Many gas discharge tubes emit a small amount of UV light. Be sure that you wear UV protective glasses while working in close proximity to the lamp. Since the students will be looking at the TV screen, rather than looking directly at the lamp, they should not be affected by light from the lamp at normal distances in the classroom.
DISCUSSION:
A holographic diffraction grating is an inexpensive device with very fine spacing between grooves. These grooves diffract light according to the equation.
ml = d sin (q ). Since the angle of diffraction depends on the wavelength of the light, the emission from the lamp is spread out into a spectrum as it enters the camera lens. The second order (m=2) diffraction pattern occurs at a large angle from the lamp than the m=1 pattern.
The "night-vision" option on many cameras allows us to see into the infrared area of the spectrum. This distorts colours somewhat, but is a valuable addition to the demonstration. For my high school students, it shows that there are more things present than their eyes can see. (The H2 and He spectra show lines that are invisible to the naked eye.) For college level students, identifying the source and frequency of these lines would be a good challenge.
For both groups, seeing a household device used to show scientific details about elements generates an interesting level of enthusiasm.
As noted above, no slit is needed to focus the light because the discharge tube is narrow. If you wish to observe the spectrum of an incandescent or fluorescent bulb, the lamp must be placed behind a narrow (1 cm) slit. It is easy to cut a slit in the bottom of a cardboard box and place the box on its side in front of the lamp.
Although it is certainly possible to video-tape your demonstration, I would urge you to set up the apparatus and use it in front of the class. Set-up time is minimal, and the impact on the students as they watch a familiar device being used in a novel way is worth the effort involved.
More Fun:
Remember that the camera can also TAPE effects outside
the classroom.
Point the camera at the new low-energy compact fluorescent bulbs,
christmas lights, mercury and sodium vapour streetlights and
other sources that catch your eye. If you have a decent dark
night sky, try taping the spectrum of the moon (a 1/2 or 1/4 moon
best resembles a "slit"). If you have a
"nightvision" option, turn it on while taping the moon
spectrum. It will show how the detector sensitivity changes in
different regions of the spectrum. Play these results in class.
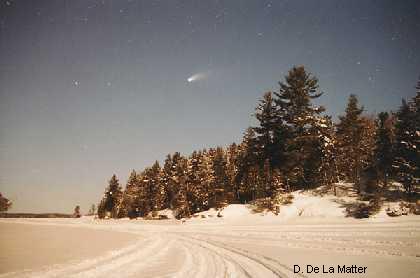
Once you prove to your students that moonlight has the same spectrum as the sun, ask them to determine experimentally what colour the sky is at night.
[Hint: A long time exposure (~2 min) using a 35 mm camera with a full moon shining, will show green trees and BLUE sky. So the night-time sky is blue... the colour is just so dim we can't see it!
Here is comet Hale-Bopp on a moonlight night]
Materials available from Flinn
Scientific:
Catalog No. Description
AP1334 Hydrogen spectrum tube
AP1327 Spectrum tube power supply
AP 1047 Holographic diffraction grating
OR
AP 6172 Colour and Light Demonstration Kit
.................. (the kit contains the diffraction grating and much
more!)